Hello, Palace Pioneers!
Today, I’m thrilled to share a tutorial that delves deep into the world of selective tiling within Unreal Engine 5. This technique, while seemingly straightforward, can be a game-changer for artists and developers aiming to work with massive assets without compromising on detail.
Why is this technique so crucial?
In the realm of game development, achieving high-quality visuals without overburdening the GPU is a constant challenge. Often, the instinct is to resort to 8K textures to maintain detail, especially when working with assets on a larger scale than they were initially designed for. However, this can lead to performance issues and a bottleneck at the GPU.
Enter selective tiling.
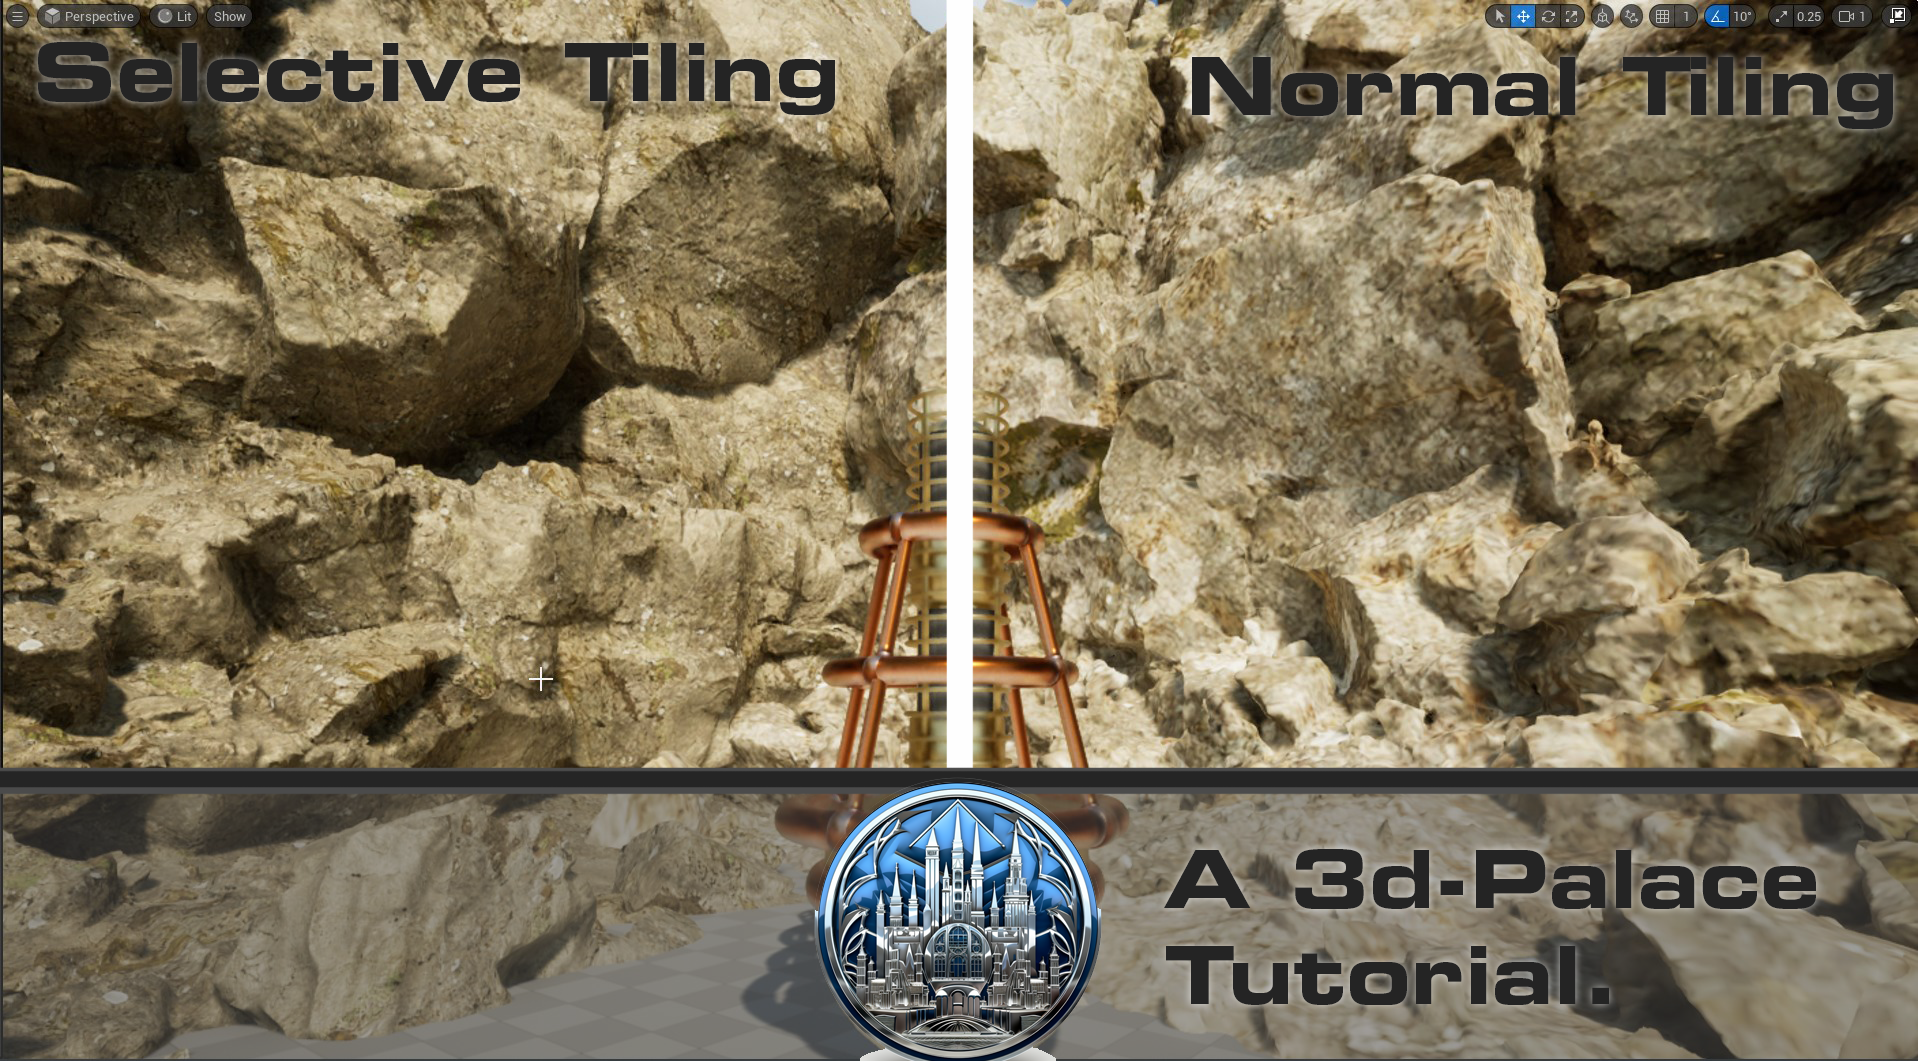
Derived from a high-level technique discussed by the lead level designer for the latest Star Wars Jedi game, this method allows you to maintain the integrity of your assets without the need for those hefty 8K textures. By combining a non-tiled normal with a tiled rock face, you can approach your cliff face (or any other asset) up close without a significant loss of detail. It’s about maximizing visual fidelity while optimizing performance.
Dive into the Tutorial
In this tutorial, I’ll guide you through the entire process, from using a 2K normal map tiled once to the UVs of an asset (like a cliff) to combining it with a tiled rock face from Megascans. The result? A detailed, close-up visual of your asset that doesn’t compromise on performance.
As game developers, we’re always on the hunt for techniques that allow us to push the boundaries of what’s possible visually while ensuring our games run smoothly. Selective tiling in UE5 is one such technique, offering a perfect blend of visual quality and performance optimization. I hope you find this tutorial beneficial, and as always, I’m here to answer any questions and assist you on your game development journey.
Until next time, keep creating and innovating!
